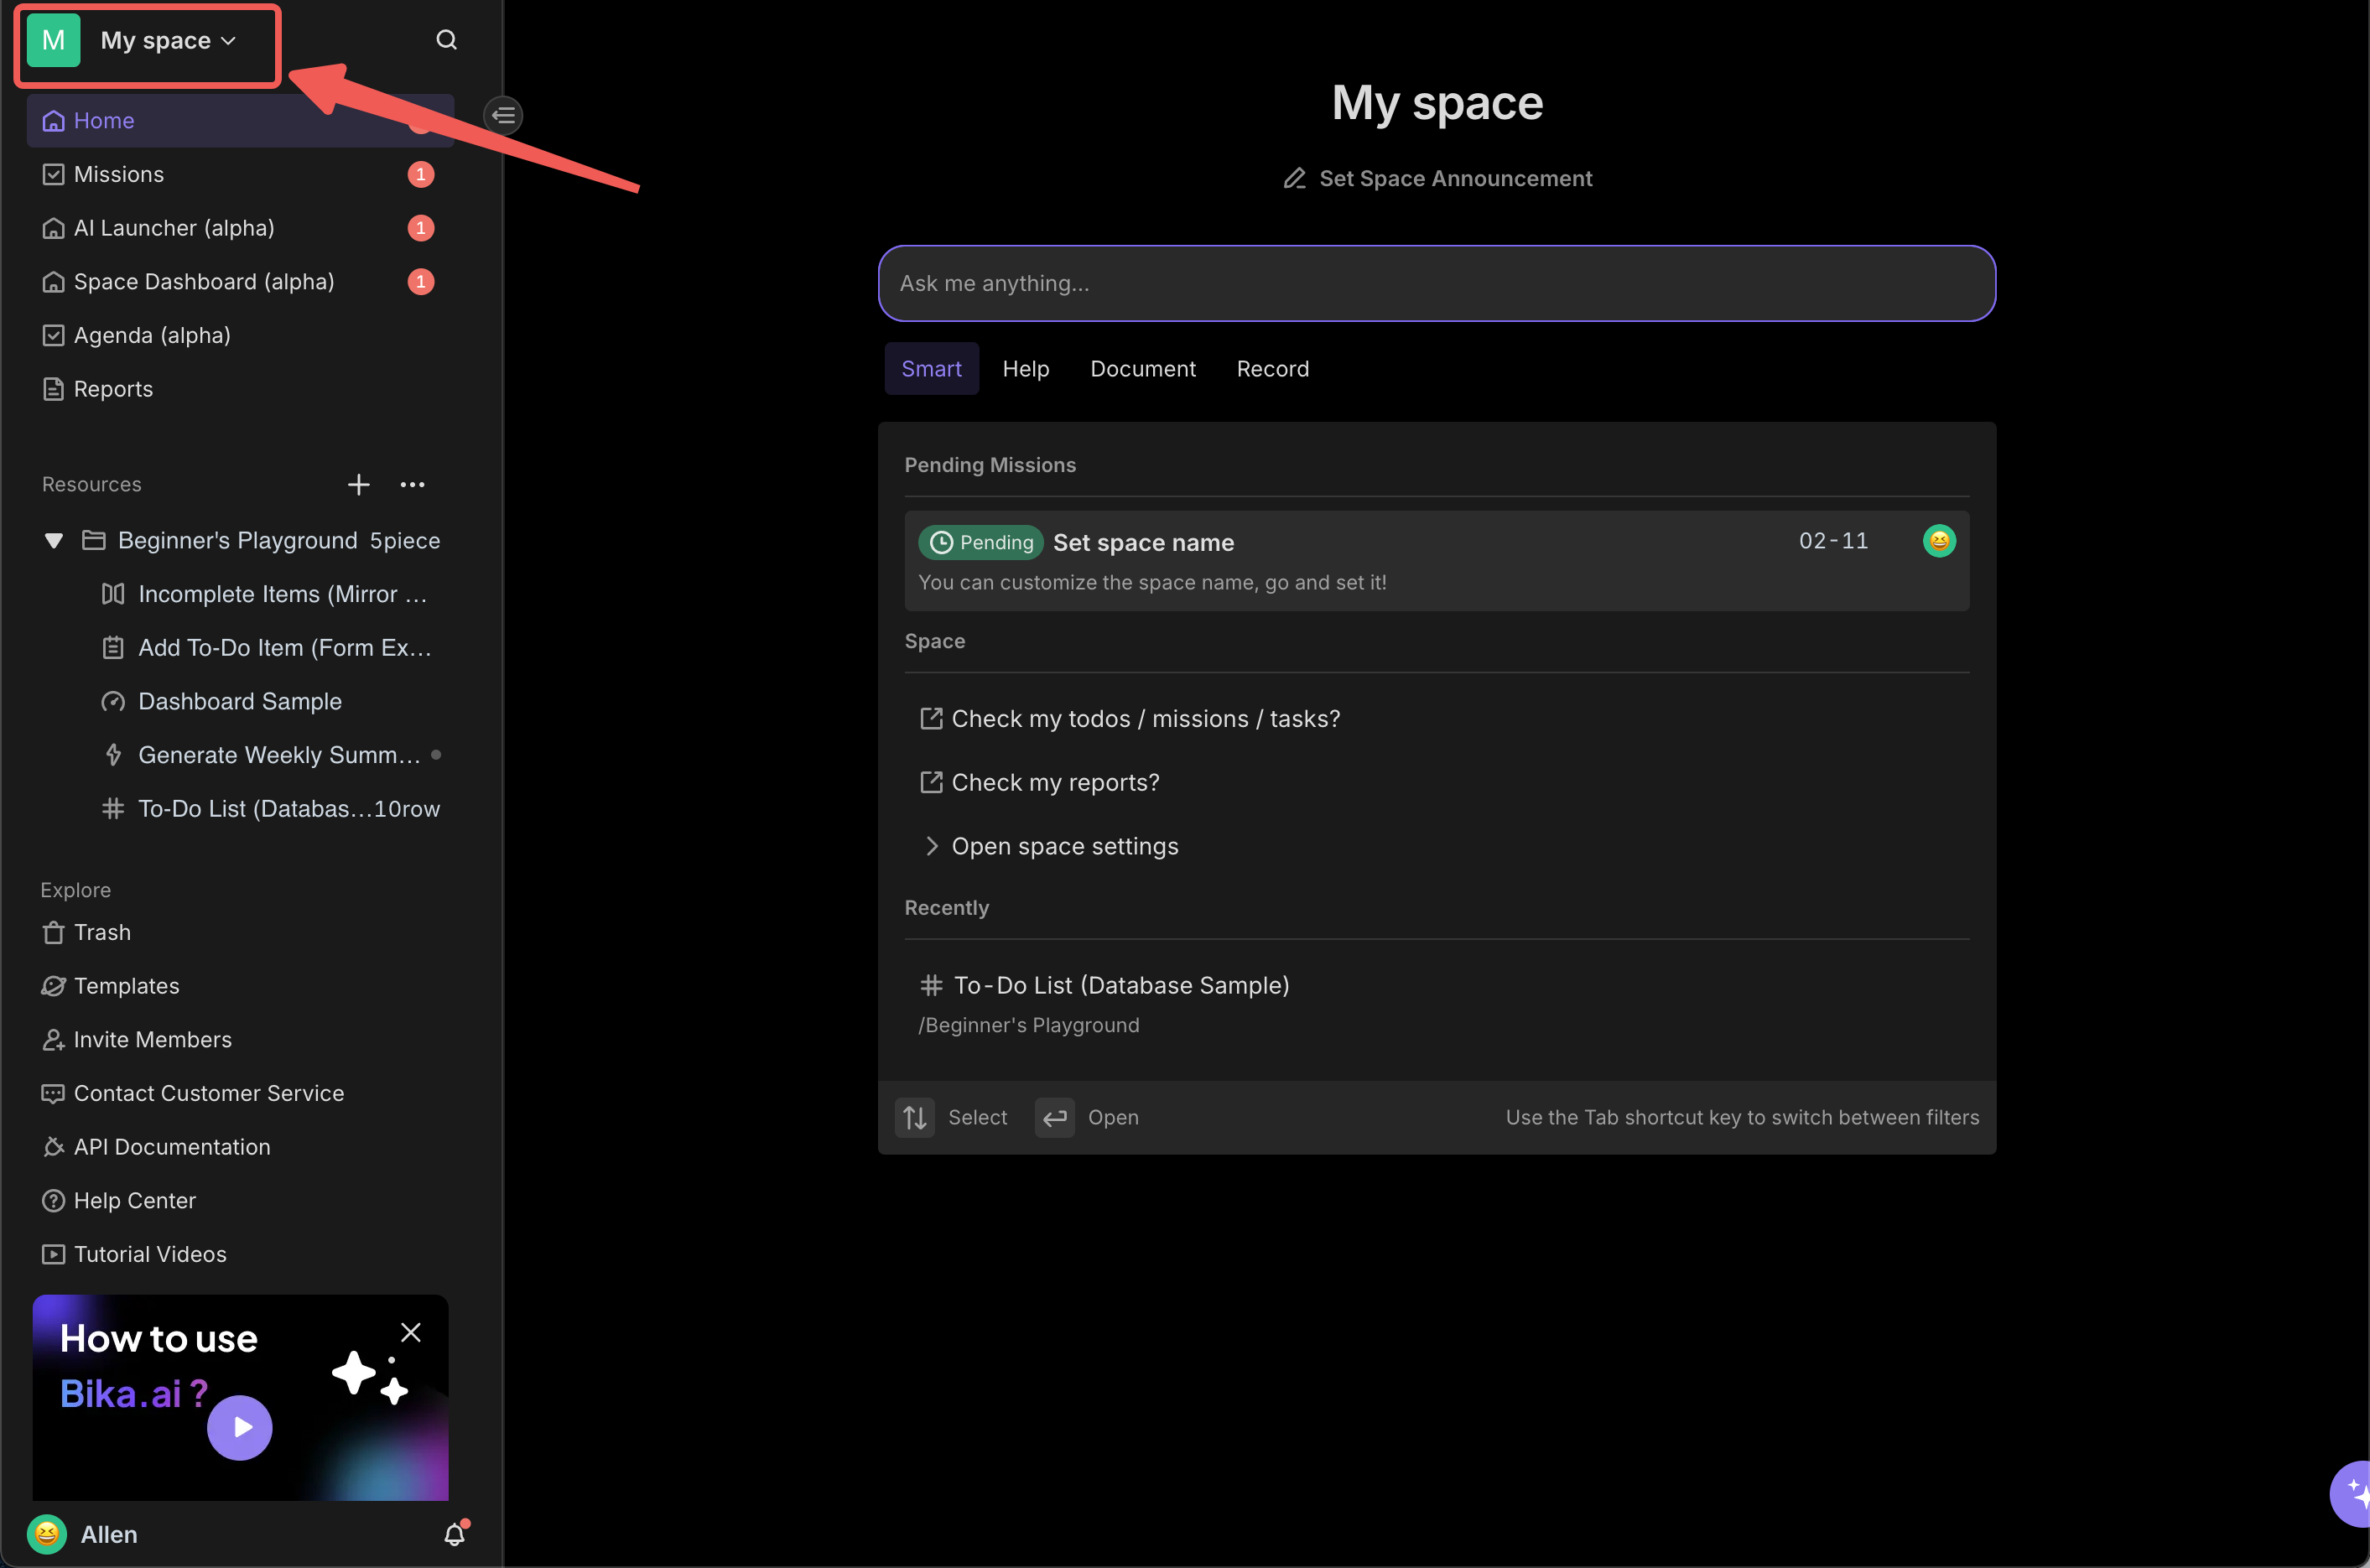
My space: These are space created by you. In these space, you have the highest management authority and can fully control various settings and member management.
Joined space: These are space where you are invited to collaborate by other users. In invited space , your permissions will be determined by the settings of the inviter.
Space Settings
Space Name and Avatar
To enhance the recognizability of the space and allow team members to quickly identify and locate it, you can set a unique name and avatar for the space. The specific steps are as follows:
Click on the space name displayed at the top left of the interface, then click the "Settings" button that appears.
After entering the space settings pop-up, hover the mouse over the space avatar area and click the "Edit" option.
Choose an avatar type that matches the theme of the space or your personal preference from the provided avatar library, then click confirm.
In the "space Name" input box, enter a name that accurately reflects the purpose of the space or the characteristics of the team.
After completing the above operations, click the "Save" button at the bottom of the pop-up to successfully update the space name and avatar.
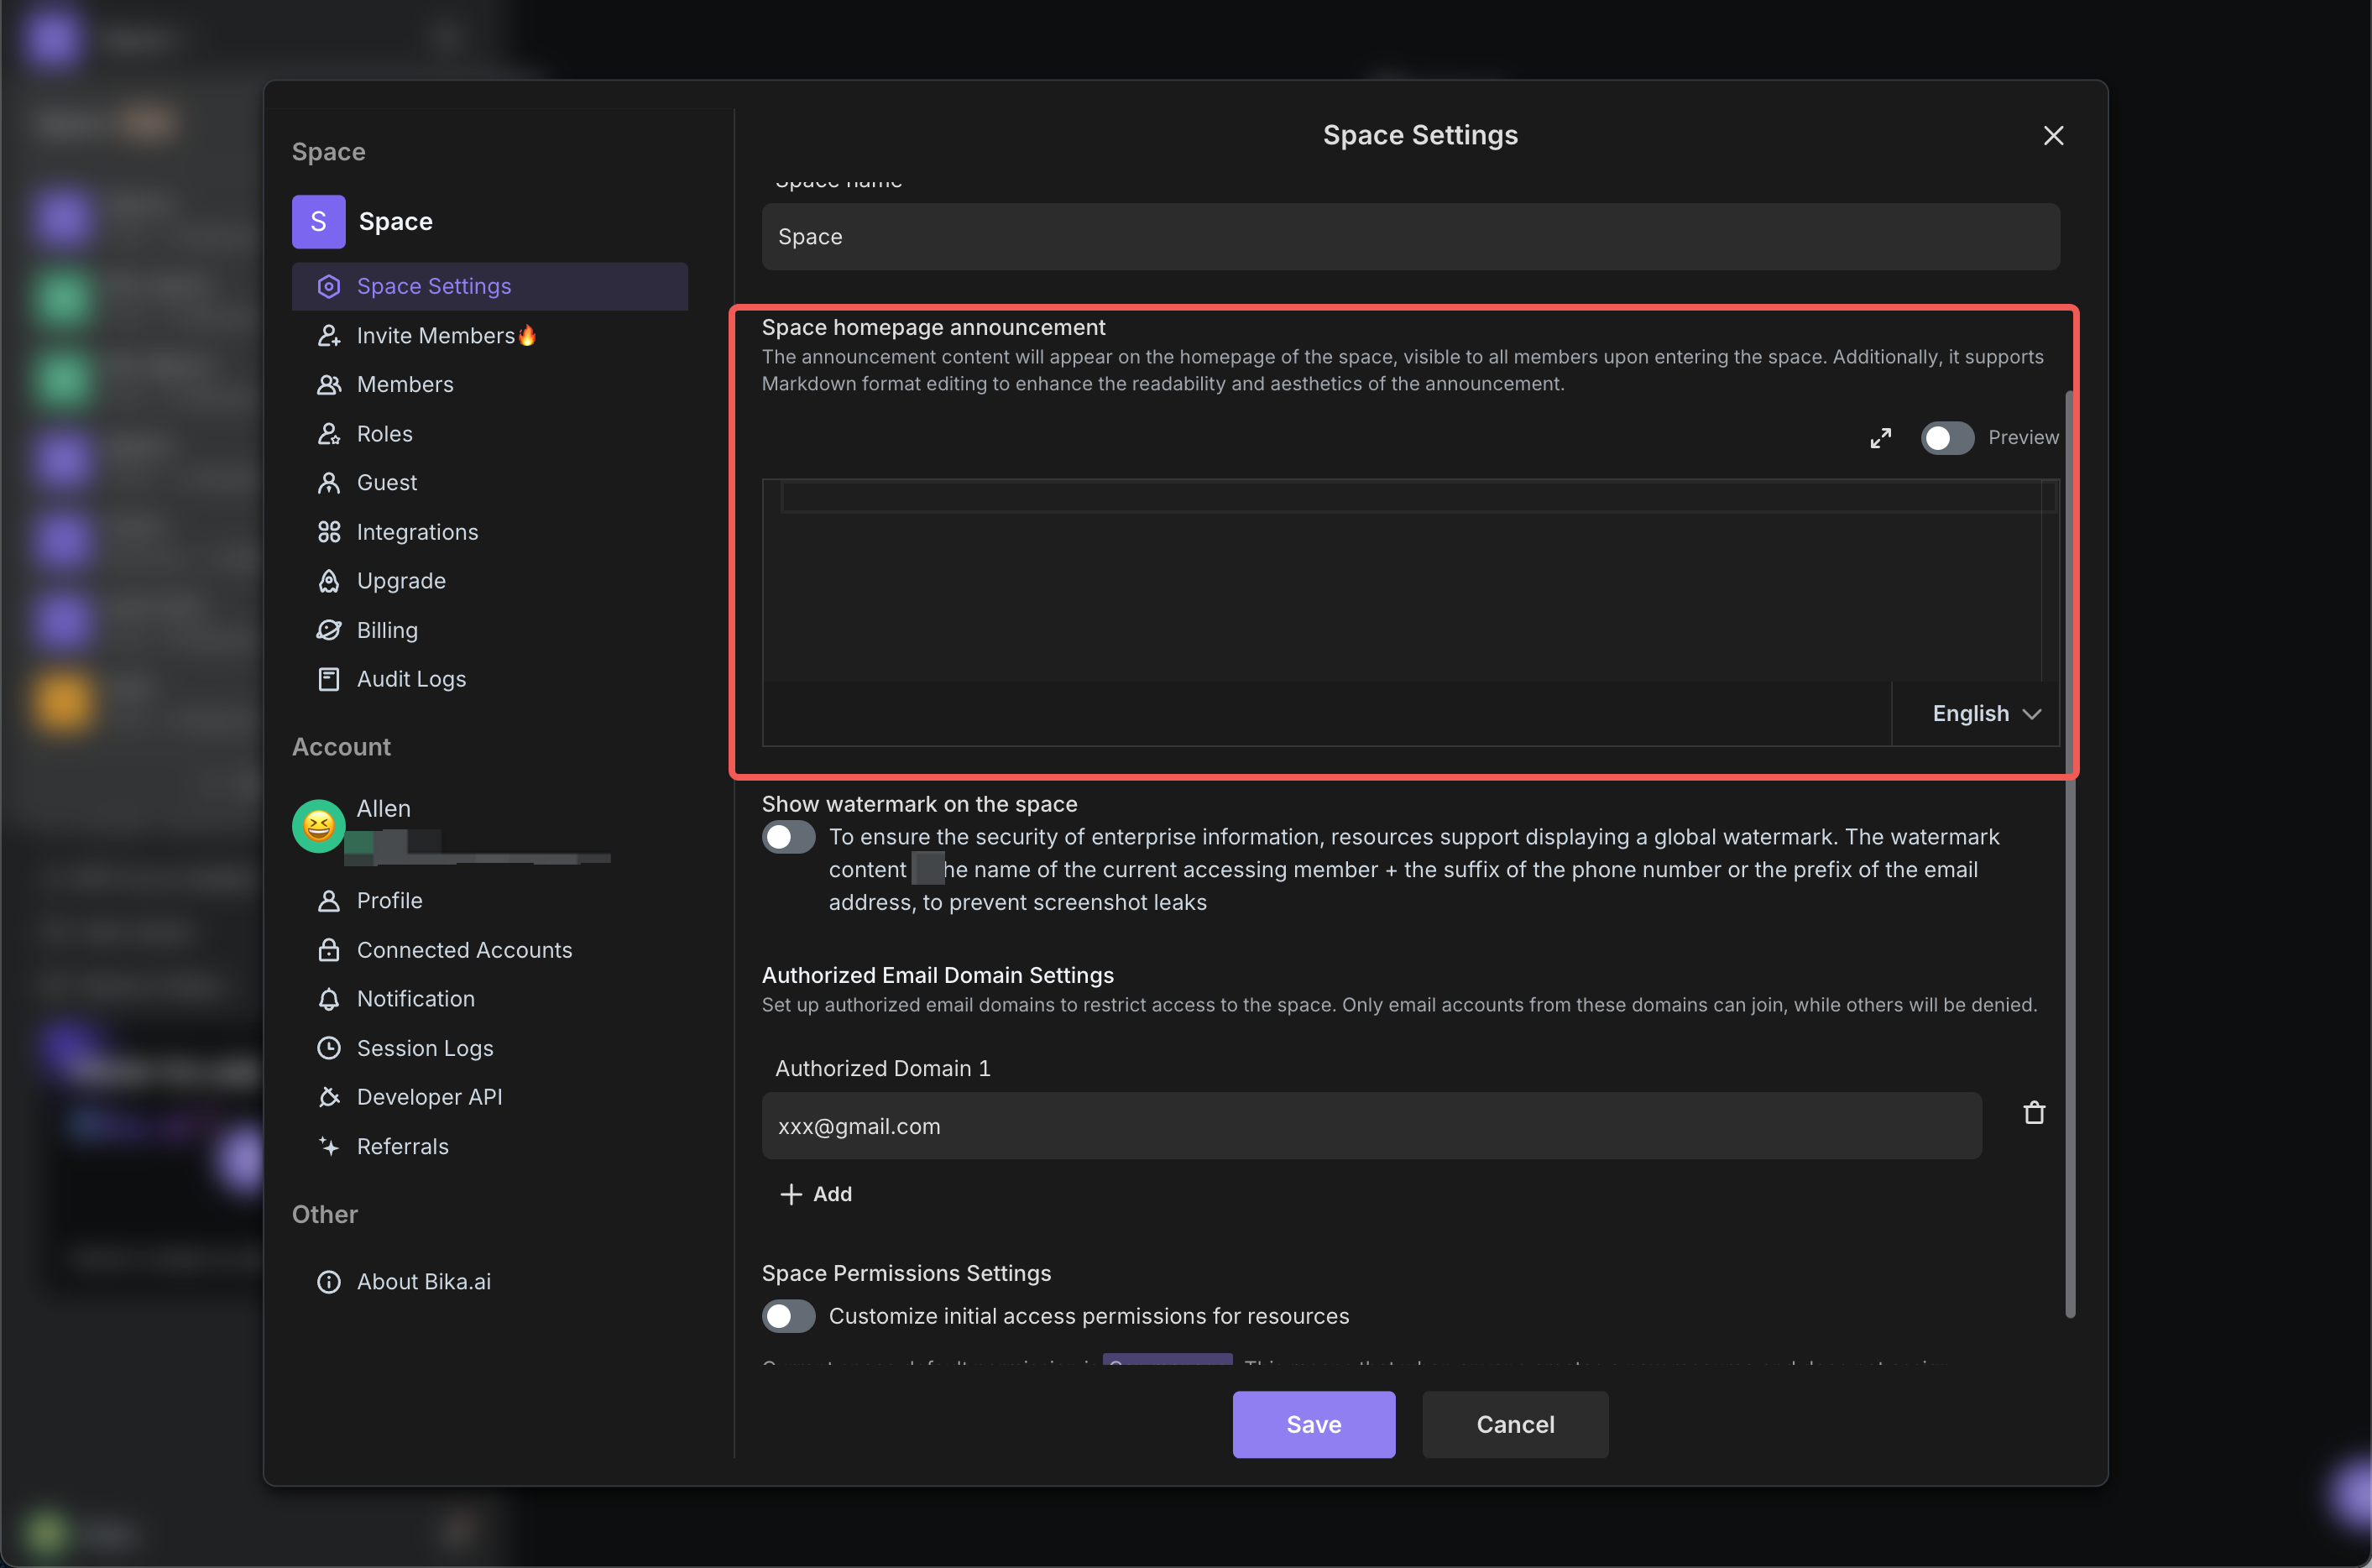
Space Homepage Announcement
To facilitate the transmission of important information to all members, you can set a homepage announcement for the space. All members will see the announcement content in a prominent position when they enter the space, ensuring timely communication of information.
Space Homepage Wallpaper
Setting a personalized wallpaper can make your space more distinctive and create a more pleasant working environment for team members. After changing the wallpaper, the change will be immediately applied to the space homepage, and all team members can see the new wallpaper settings.
You can find the settings in the following two locations:
Space Settings
Navigate to the space settings page
Find the "Homepage wallpaper" section
Click the "Set wallpaper" button
In the pop - up window, you can freely choose the wallpaper.
Space Homepage
Navigate to the space homepage
Find the "Homepage wallpaper" entry in the upper right corner and click it.
In the pop-up window, you can freely choose the wallpaper.
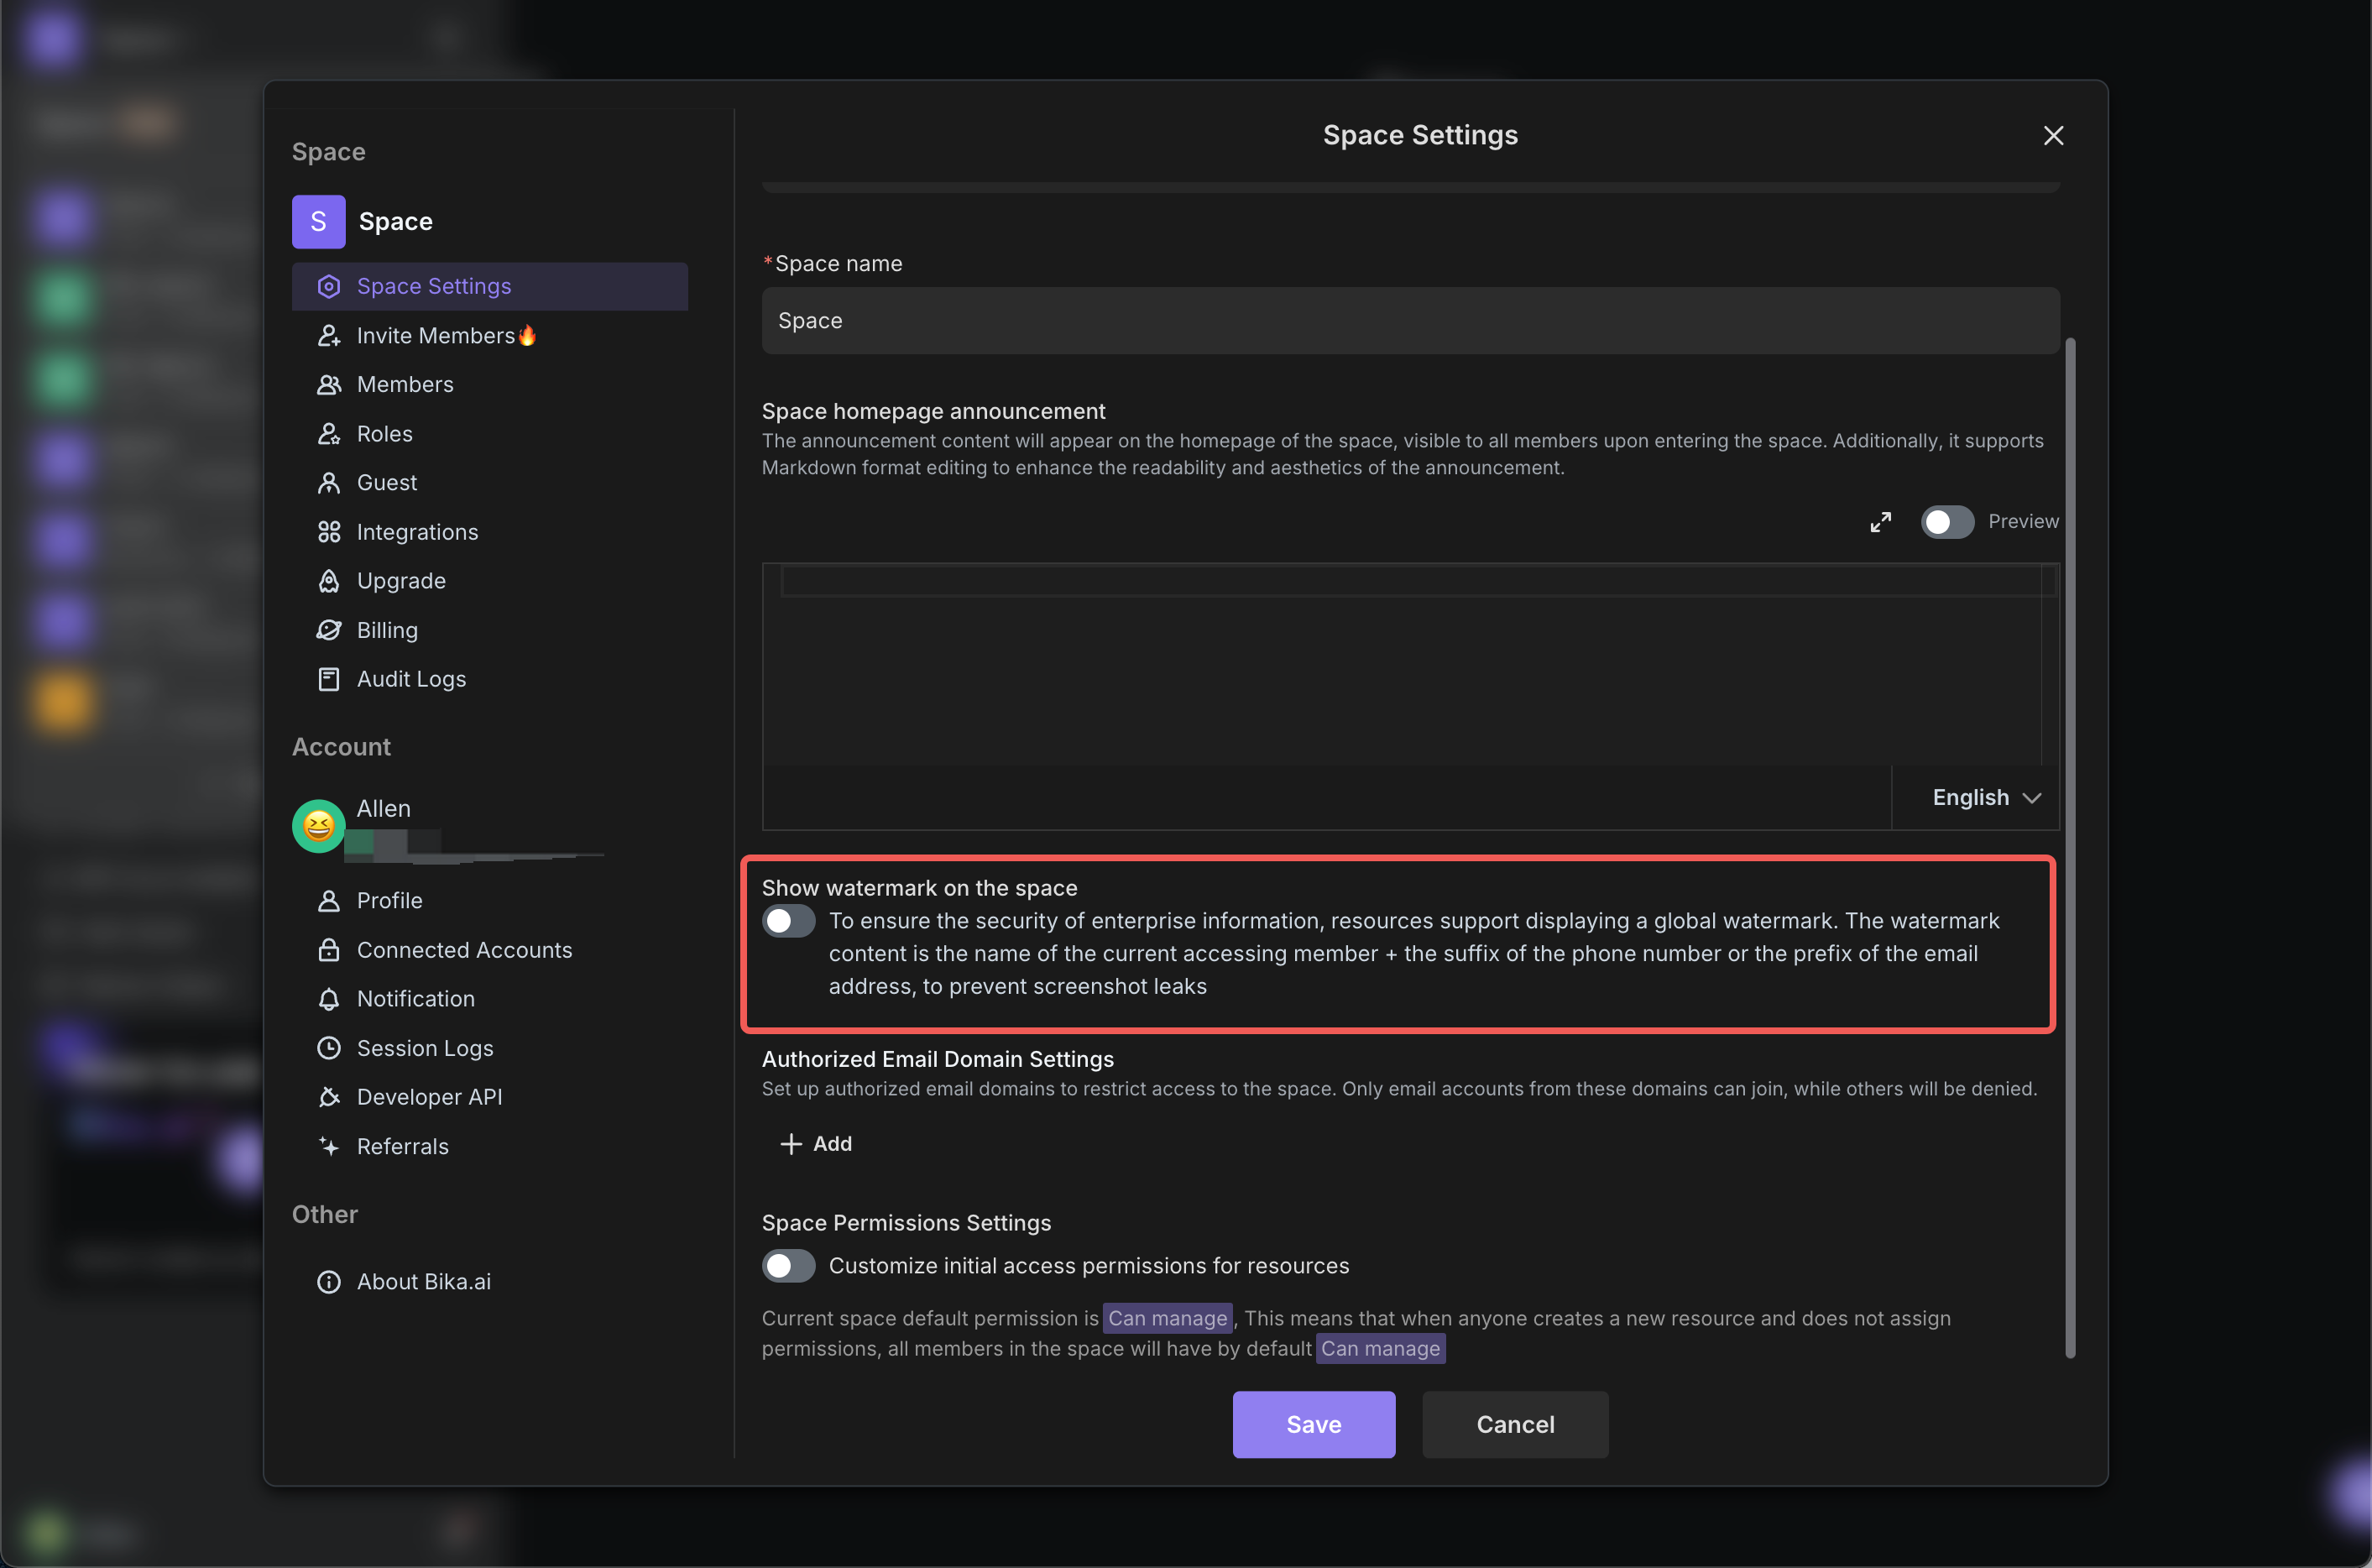
Space Watermark
For the consideration of enterprise information security, Bika.ai space support the display of global watermarks. The watermark content includes the current visitor's name and the last four digits of their phone number or the prefix part of their email address, thereby enhancing information traceability and security protection.
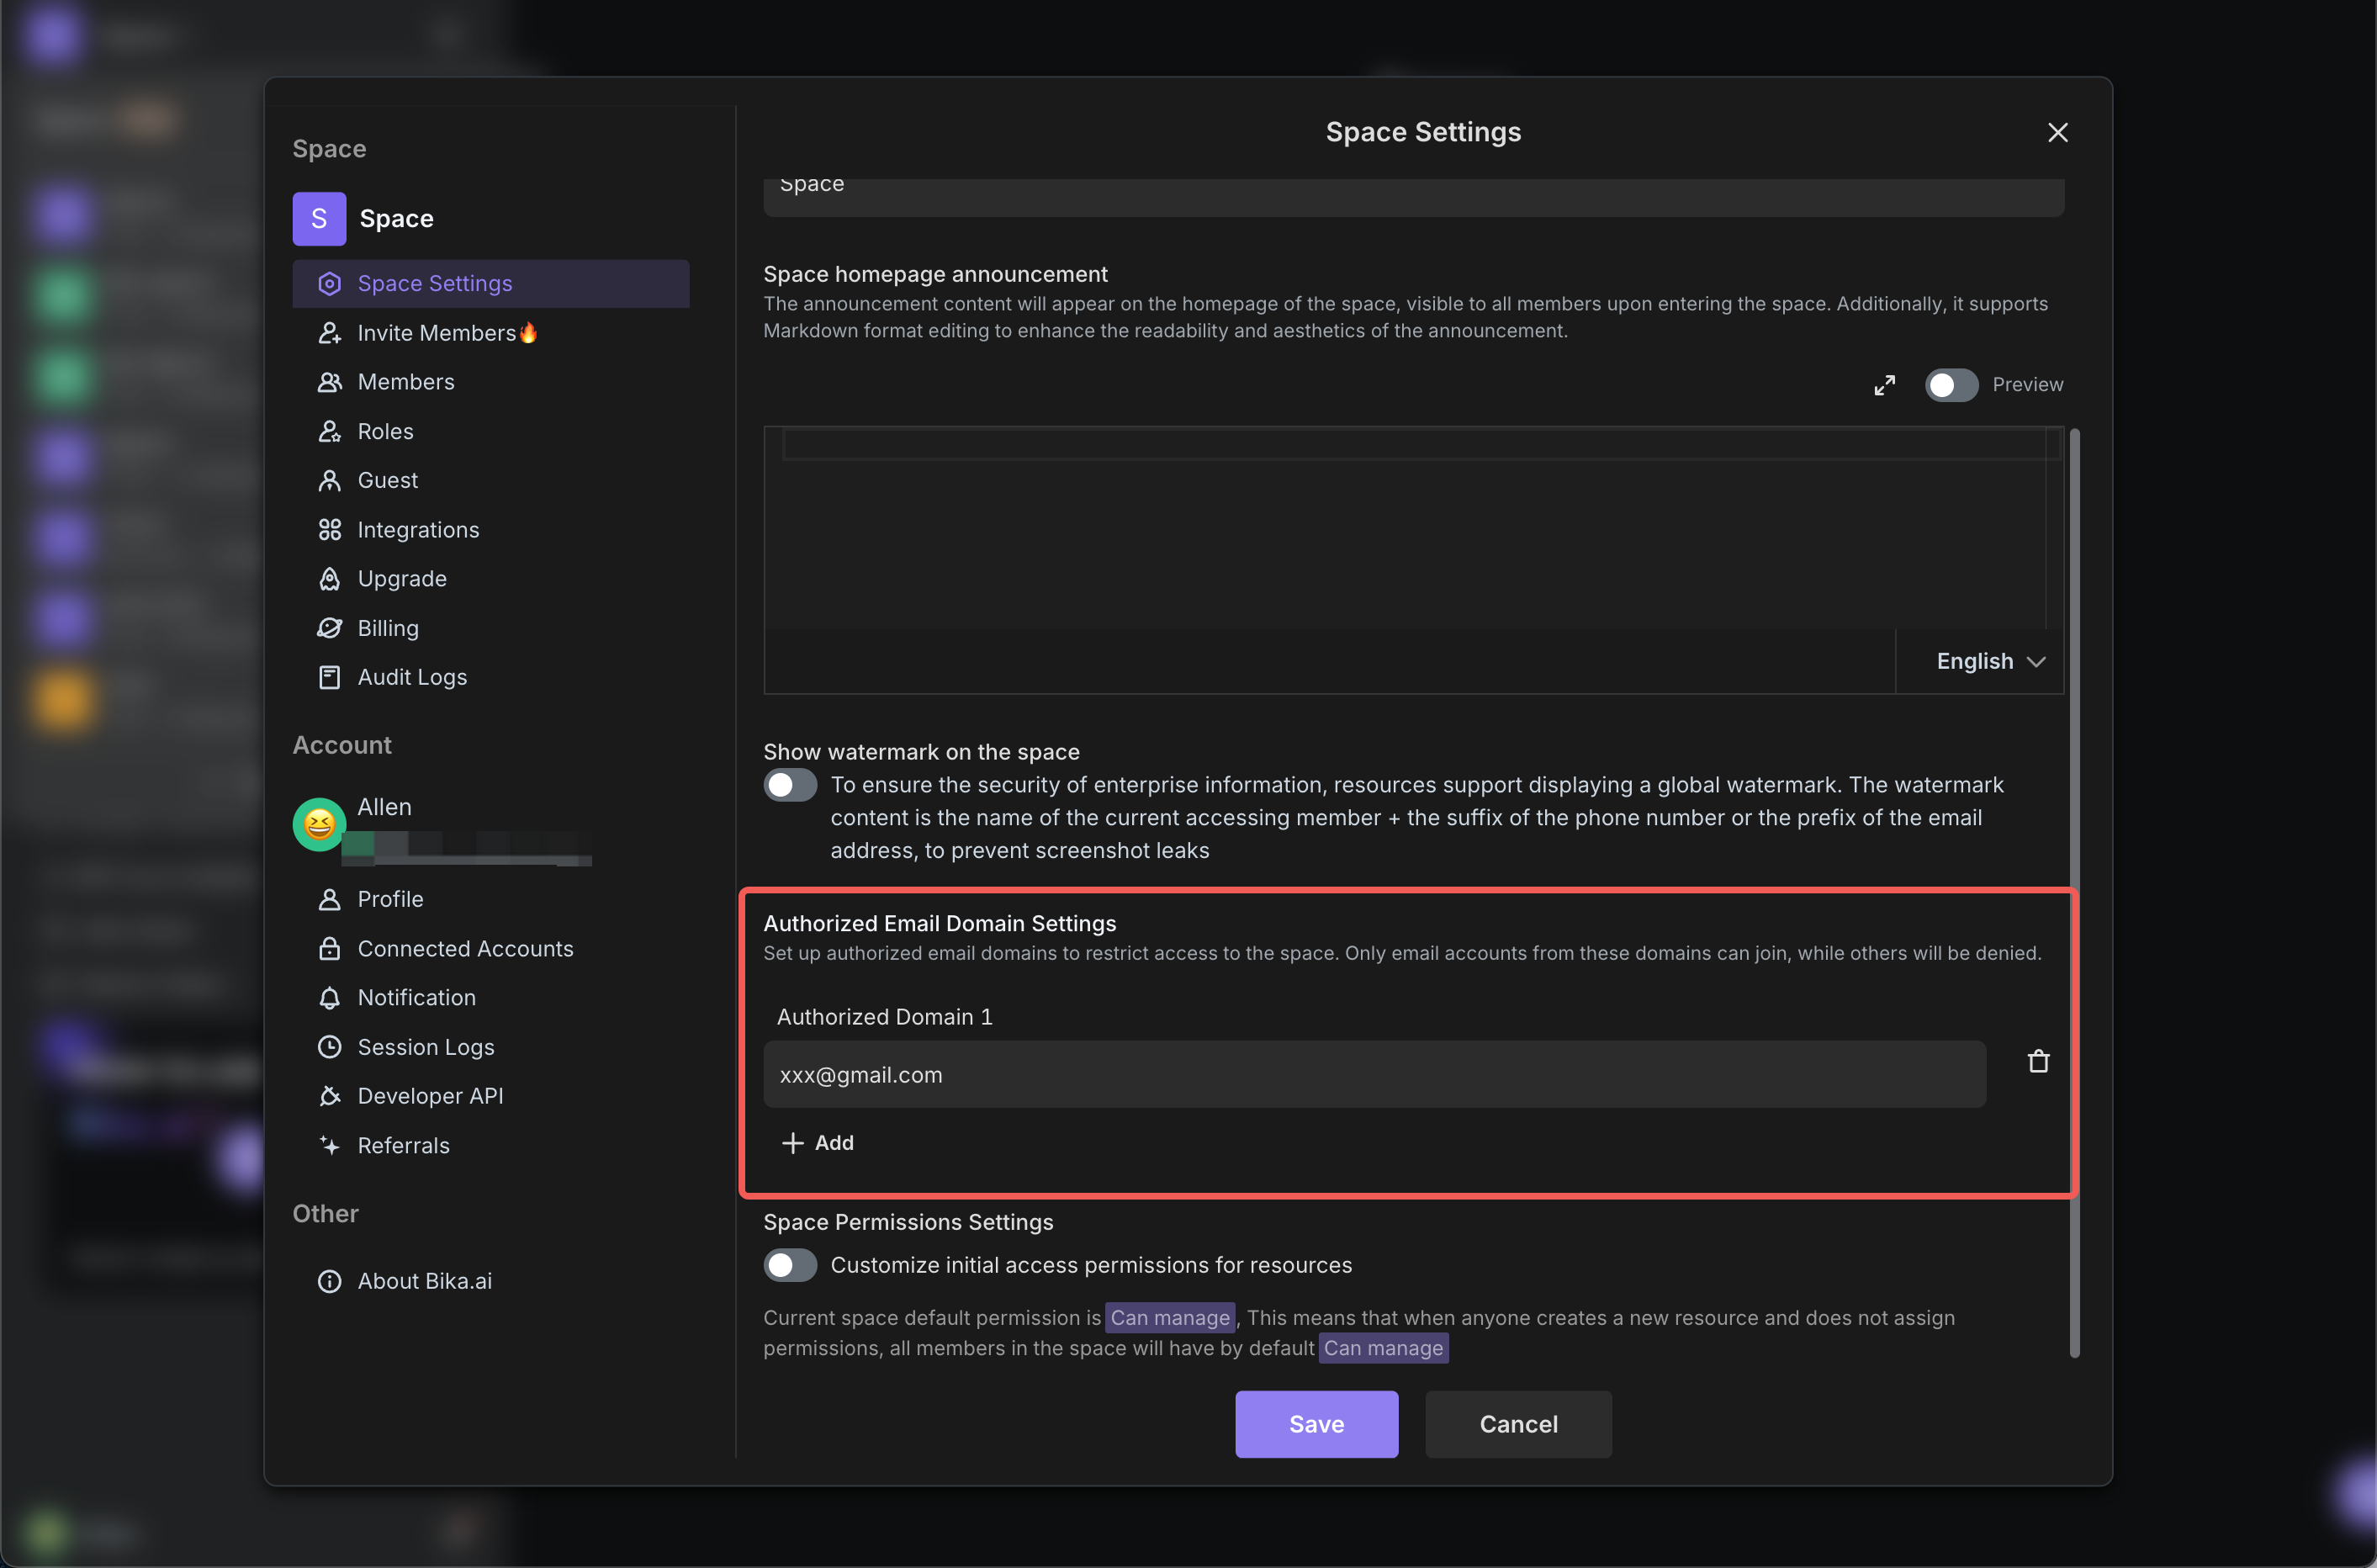
Space Authorized Email Domain Settings
By setting authorized email domains, you can precisely control the range of people who can access the space. Only users with email accounts from authorized domains can successfully join the space, and other non-authorized email accounts will be denied access, effectively ensuring the security and confidentiality of information within the space.
Space Resource Management
When members enter the space, the default permission is "Can Manage". This means that members can freely create resources at the team resources list. You can flexibly customize the access permissions of members according to actual collaboration needs, including "Can Edit", "Update only", "Can View", and "No access", to meet the diverse management needs of different projects and teams.
When you have new work projects or collaboration needs, you can easily create a new space by following these steps:
Find and click on the space name displayed at the top left of the interface.
At the bottom of the expanded menu, click the "New Space" button.
In the pop-up creation dialog box, enter the name you set for the new space, then click "Next".
The Bika will automatically complete the creation of the new space, and you can immediately start personalizing and using the new space.
Inviting Members to Join a Space
An efficient space cannot be separated from the collaborative efforts of team members. The steps to invite members to join a space are as follows:
In the left directory of the space interface, click on the "Invite Members" option.
Invite people by link:
First, clarify the identity of the person you want to invite and select "Member" or "Guest".
Choose the Team that the member will join to facilitate classification and management of members.
If necessary, assign a specific role to the invited member, such as project leader or regular member (this step is optional).
Click the "Create" button, and the Bika will generate a dedicated invitation link. Copy the link and send it to the members or teams you want to invite.
Invite people by email:
Similarly, first determine the identity of the invited member, "Member" or "Guest".
Enter one or more email addresses of the invitees in the input box, then click the "Invite" button.
After the invitation is sent, the invitee will receive an email notification containing the invitation information. Click the "Accept Invitation" link in the email to smoothly join the space.
After the invitee successfully joins the space, both the inviter and the invitee will receive a reward of 1000 Bika Coin. These Bika Coin can be used for subsequent space upgrades, purchasing advanced templates, and exchanging for exquisite souvenirs to further enhance the user experience.
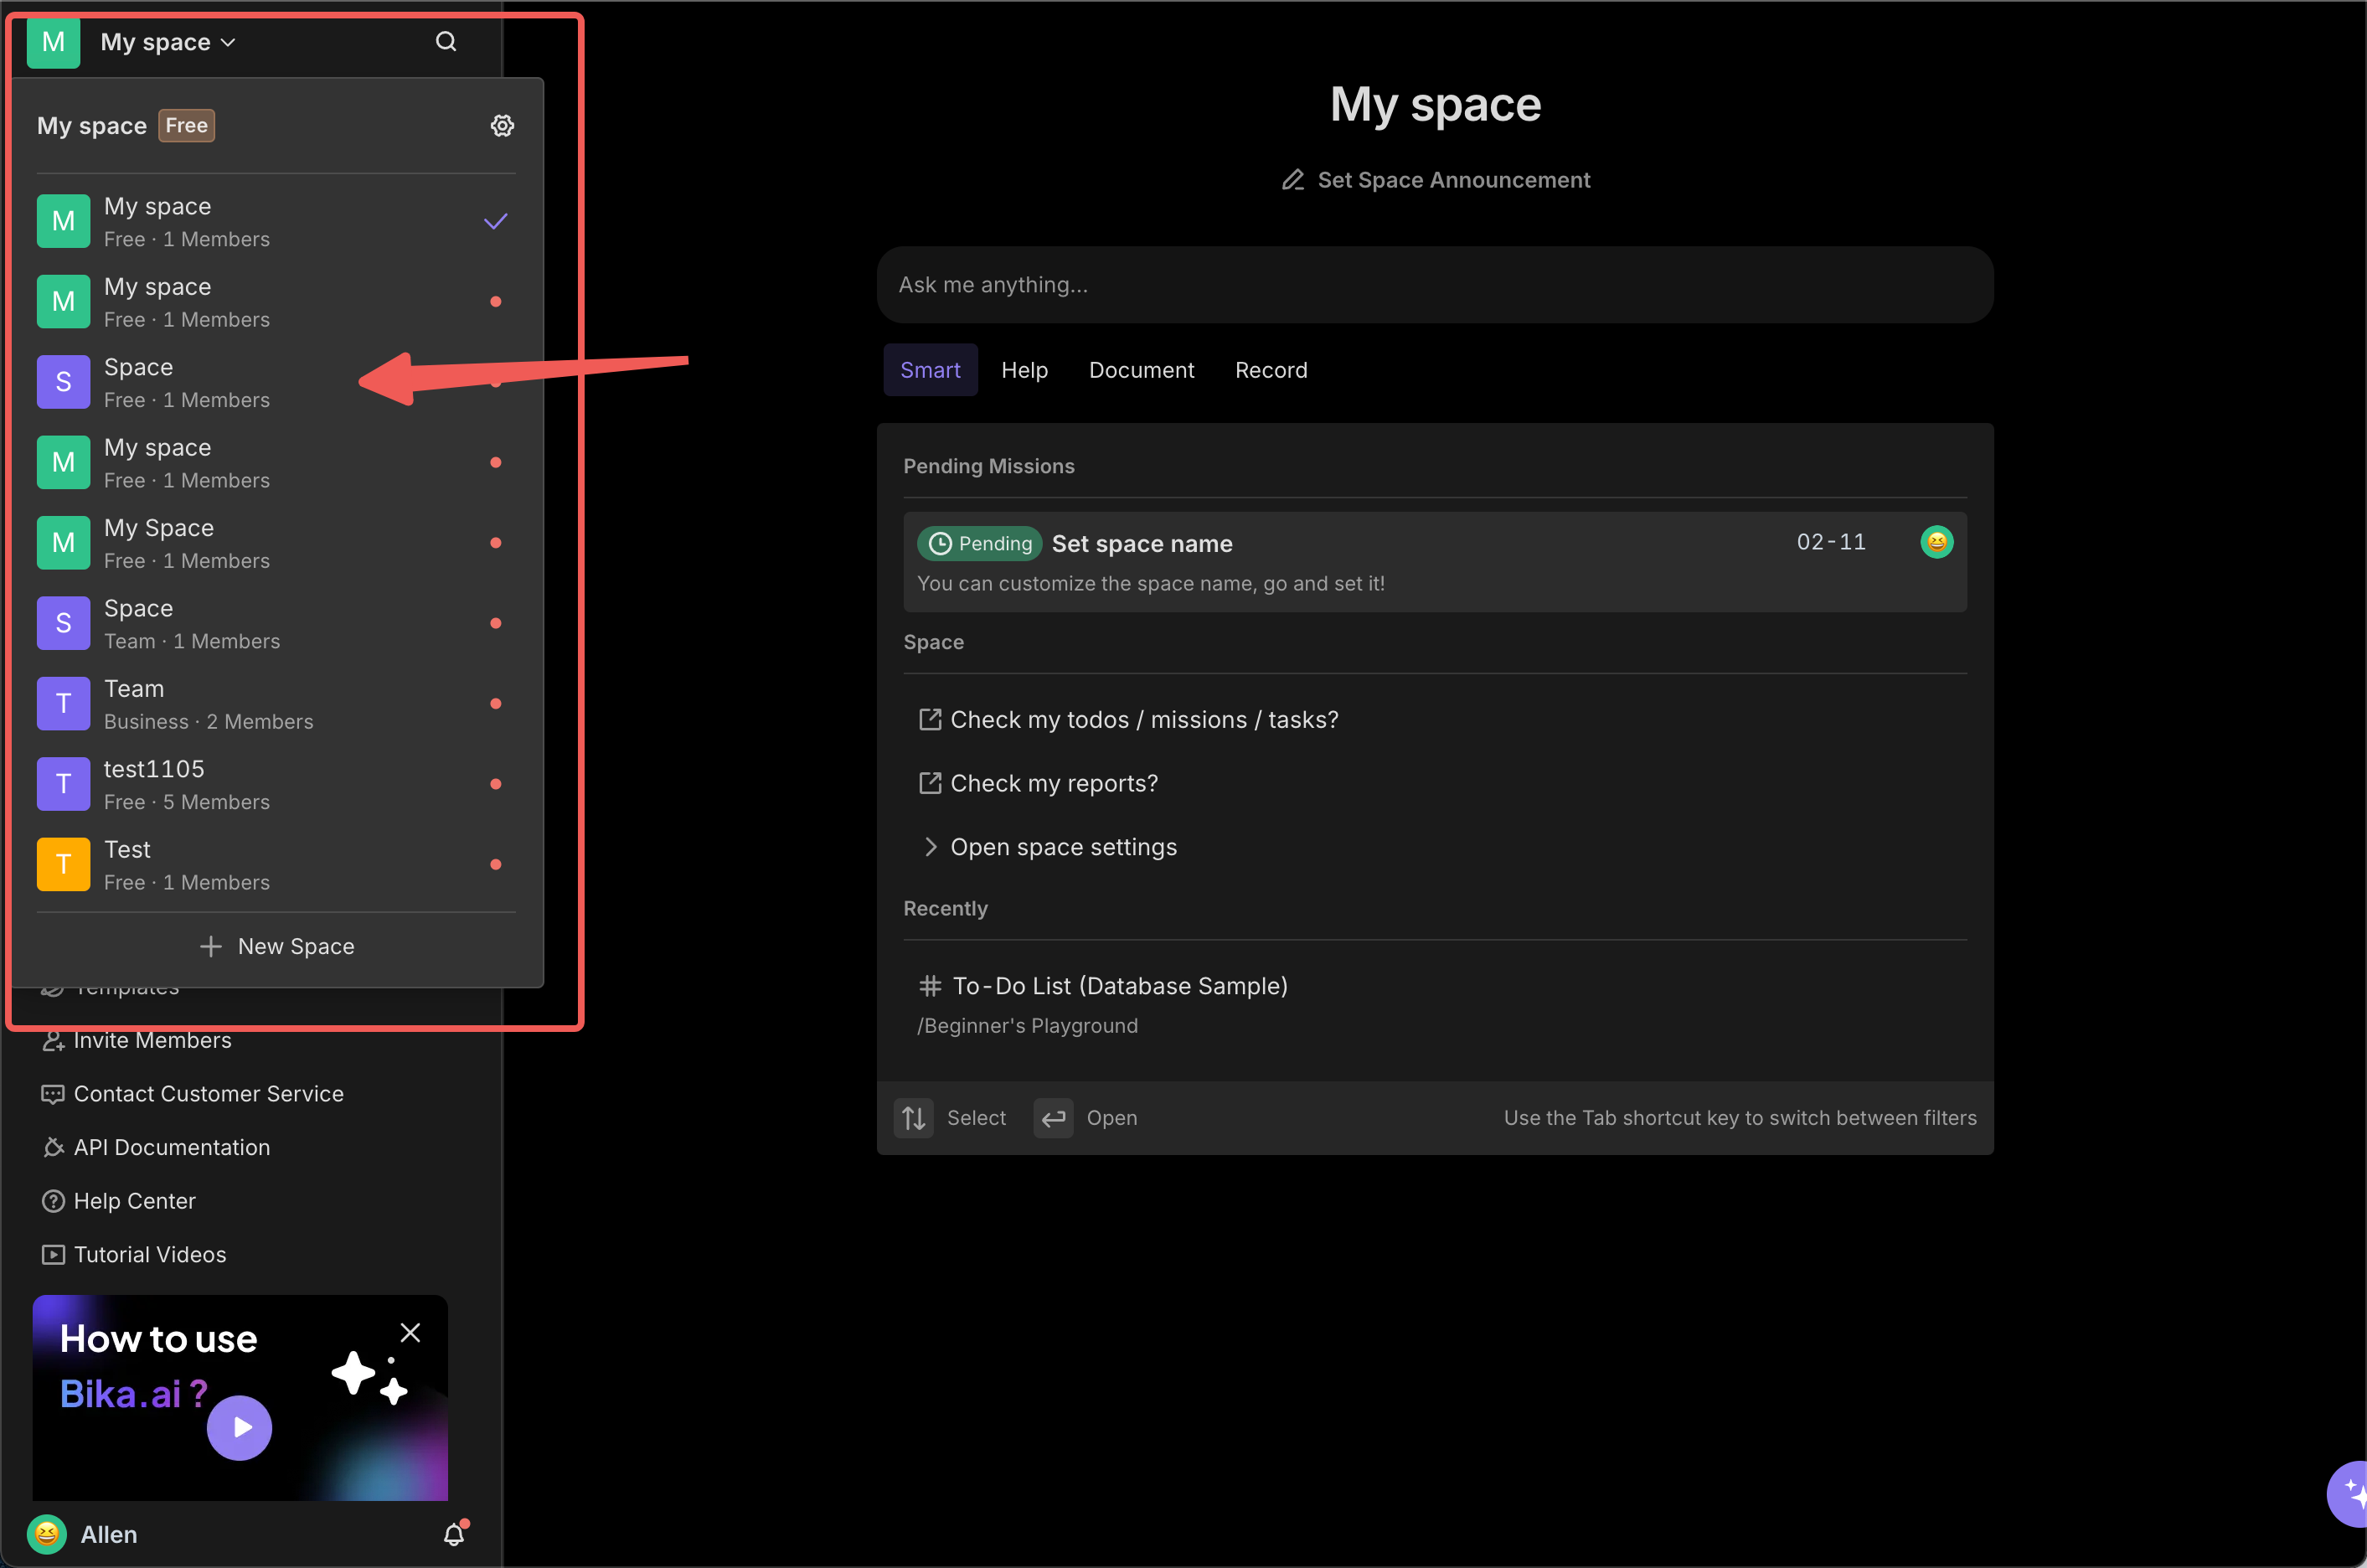
Switching Working Space
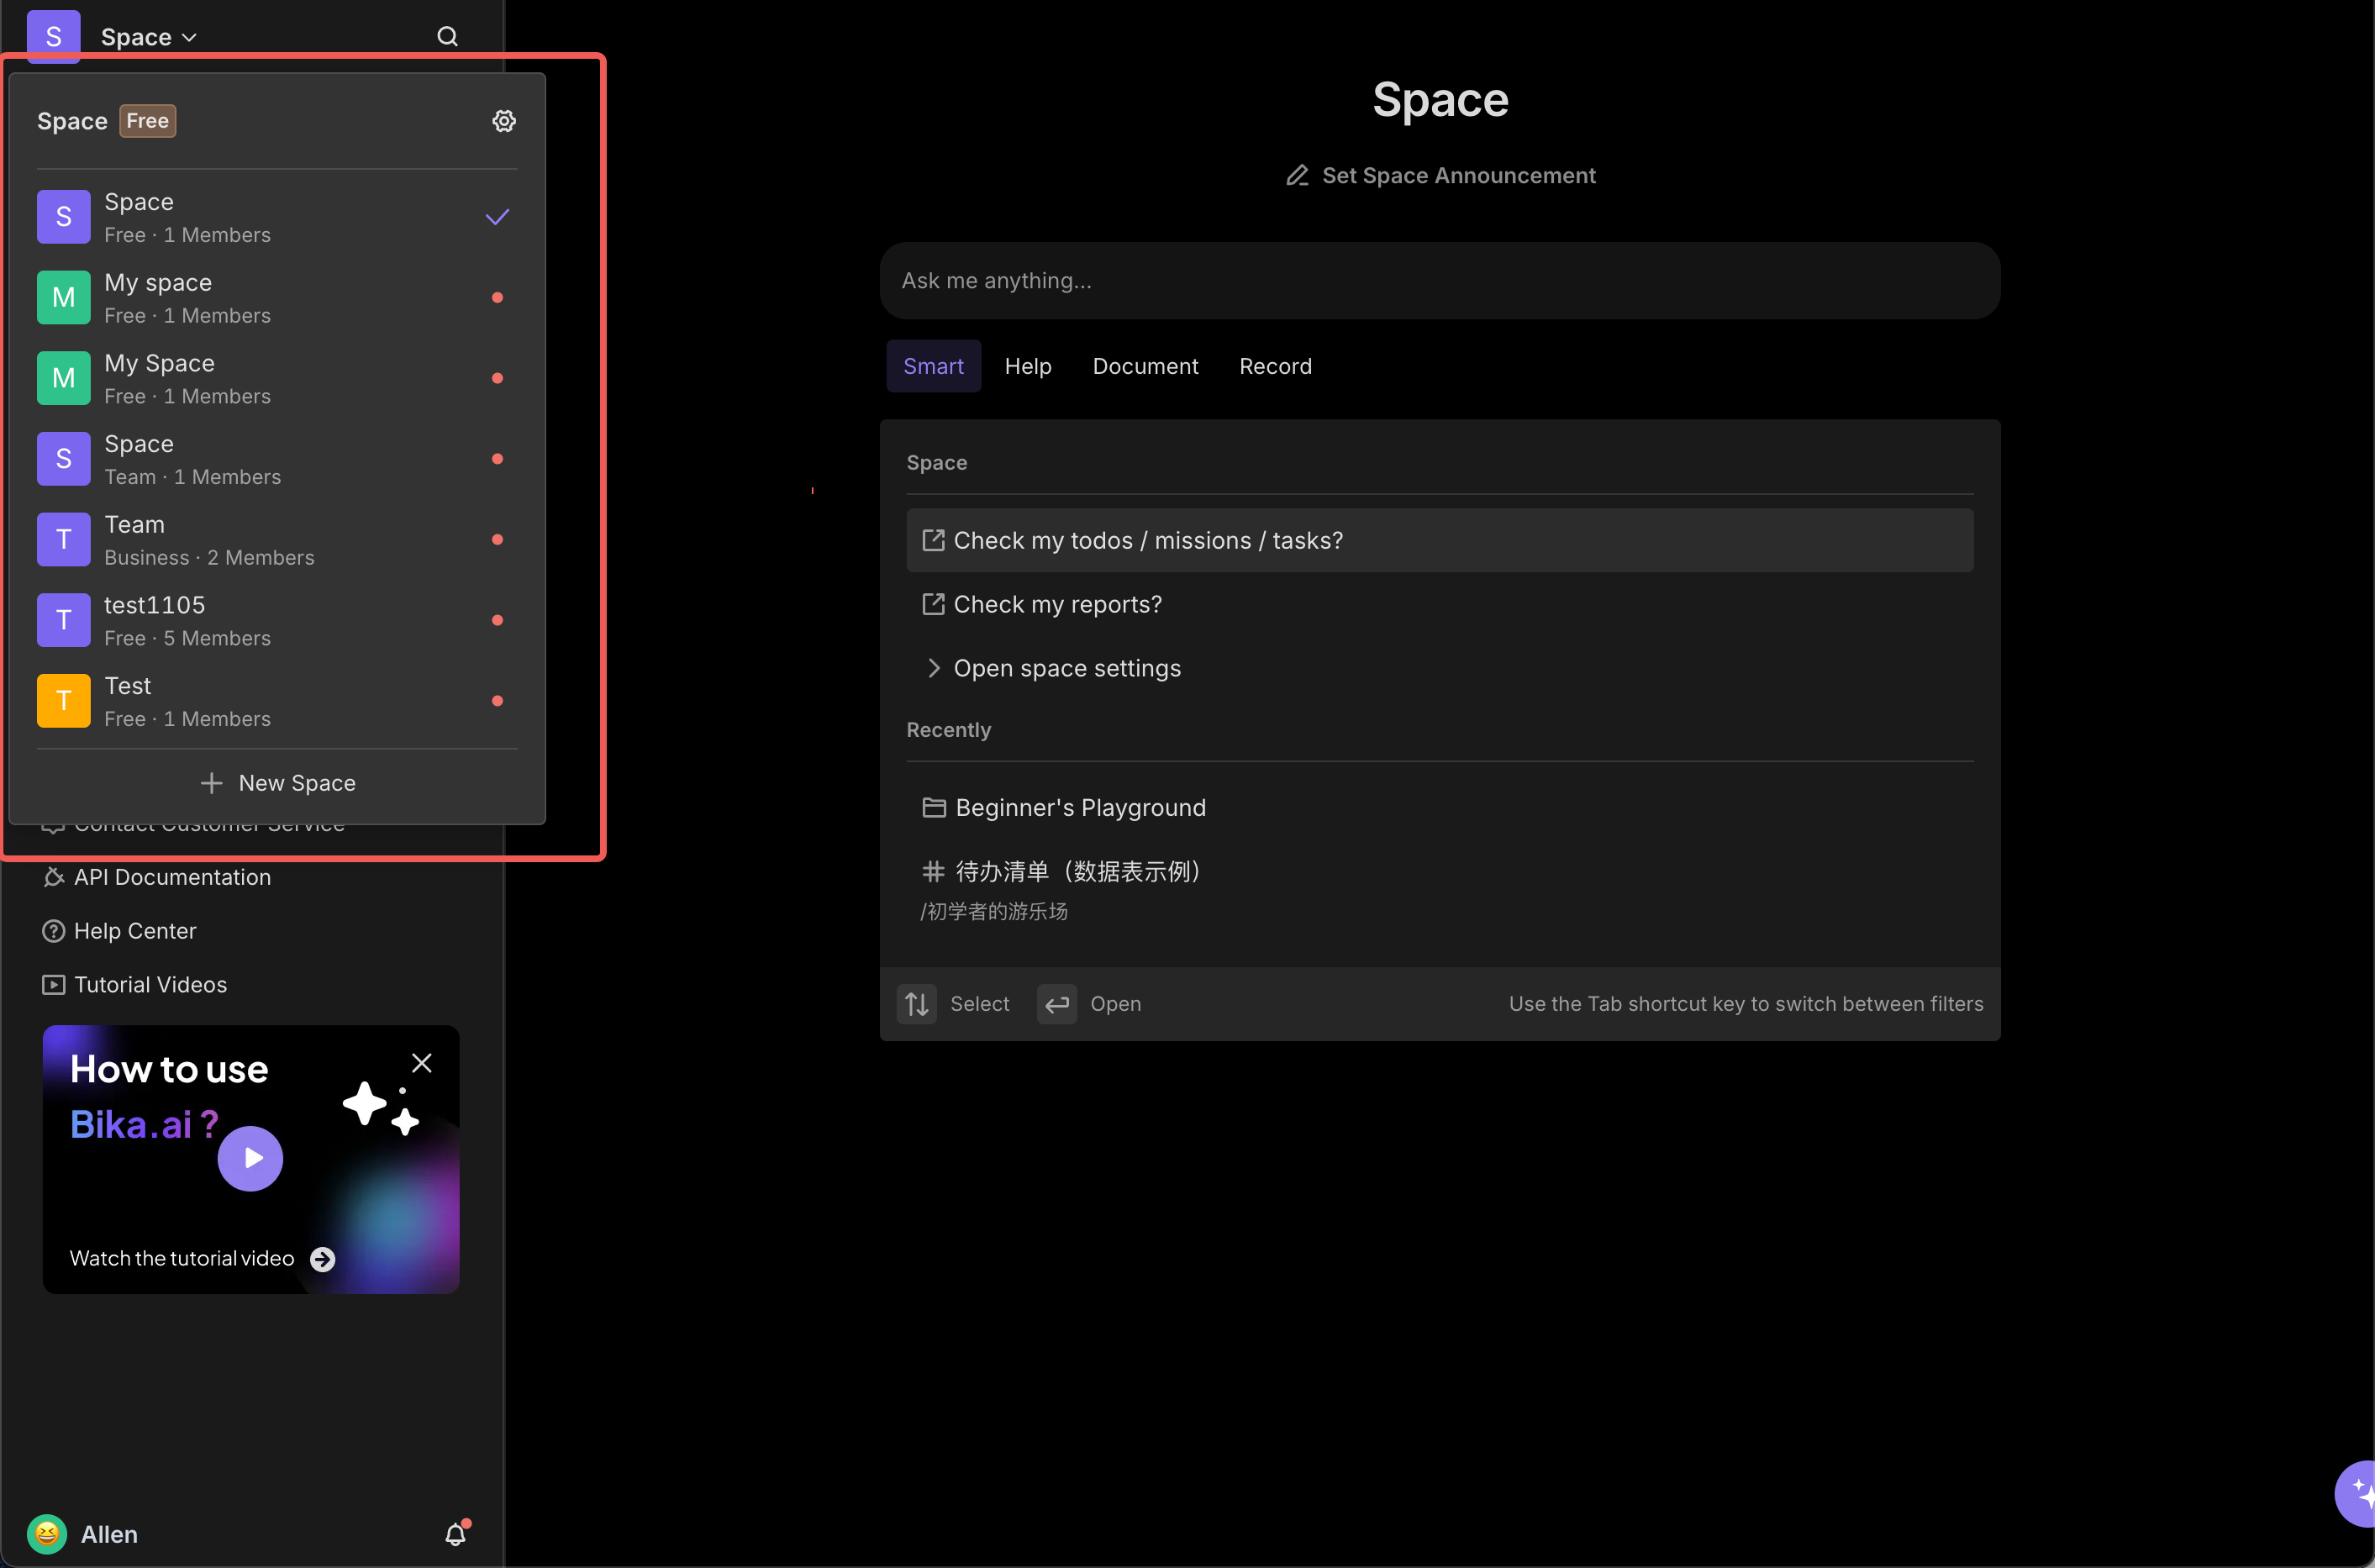
In actual work scenarios, you may be involved in the affairs of multiple space at the same time. The operation to switch space is as follows:
At the top left of the Bika.ai platform interface, click on the name of the current space.
In the expanded drop-down menu, click on the target space you want to switch to.
Wait for the page to load, and you will successfully switch to the target space and start working in the new space.
Kickstart user engagement with this automated welcome series. Begin with a warm welcome email and give users the option to unsubscribe. For those who stay engaged, send a follow-up email 4 days later asking for valuable product feedback. Track open rates and retention, while ensuring unsubscribed users are excluded from further emails.
🔖Tip: You can customize email content with HTML for a richer experience. Please replace the unsubscribe link in your emails with the share link to the "Unsubscribe Form" you’ve created.
A business development CRM template to manage partnership opportunities, track partner details, log interactions, and organize contact information for streamlined collaboration
Companies recognize the importance of OKR tracking for alignment and productivity, but differ on the best approach. For a smooth and efficient way to manage OKRs, consider our tracking template—it's all you need to advance your company's vision.
Content Marketing is crucial for SEO results. This template streamlines your strategy, tracks content production, sparks new ideas, aligns content with SEO keywords and audience, and manages campaign workflows.
Quickly set up a 7-day automated email outreach, especially suitable for scenarios including: continuous contact with potential customers, product launch countdown marketing, and ongoing welcome emails for new registrants.
Scheduling class is a complicated process, involving checking multiple worksheets and preparing timetable. In order to arrange schedules effectively, it is important to centralize all of the information including courses, rooms, classes into one intuitive system.